
The Amazing World of Microscopes
The Amazing World of Microscopes
At the end of this lesson, you are expected to:
Identify the different parts of a compound microscope and explain their functions.
Demonstrate the correct way to carry, set up, use, and store a compound microscope.
Understand the importance of proper microscope handling for accurate observations and the longevity of the equipment.
Imagine you've just received a special package. Inside, you find a mysterious object with many knobs, lenses, and a flat platform. What do you think this object is? What do you think it's used for? Let's pretend you have a "Microscope Mystery Box" in front of you. Without looking, try to describe what you imagine might be inside based on the clues: it's used to see tiny things, it has parts you can turn, and it needs light. Write down your guesses!
Welcome, young scientists! Today, we're going to get to know one of the most important tools in our science classroom: the compound microscope. Think of it as your magic window into a world you can't see with your own eyes – the world of tiny cells, bacteria, and other amazing microscopic creatures! But like any special tool, it needs to be handled with care and respect. This lesson will guide you on how to become a responsible microscope user.
What is a Compound Microscope?
A compound microscope uses a combination of lenses to magnify small objects, making them appear much larger. The word "compound" means it has more than one lens working together. These microscopes are essential for observing cells, tissues, and microorganisms, which are too small to be seen with the naked eye.
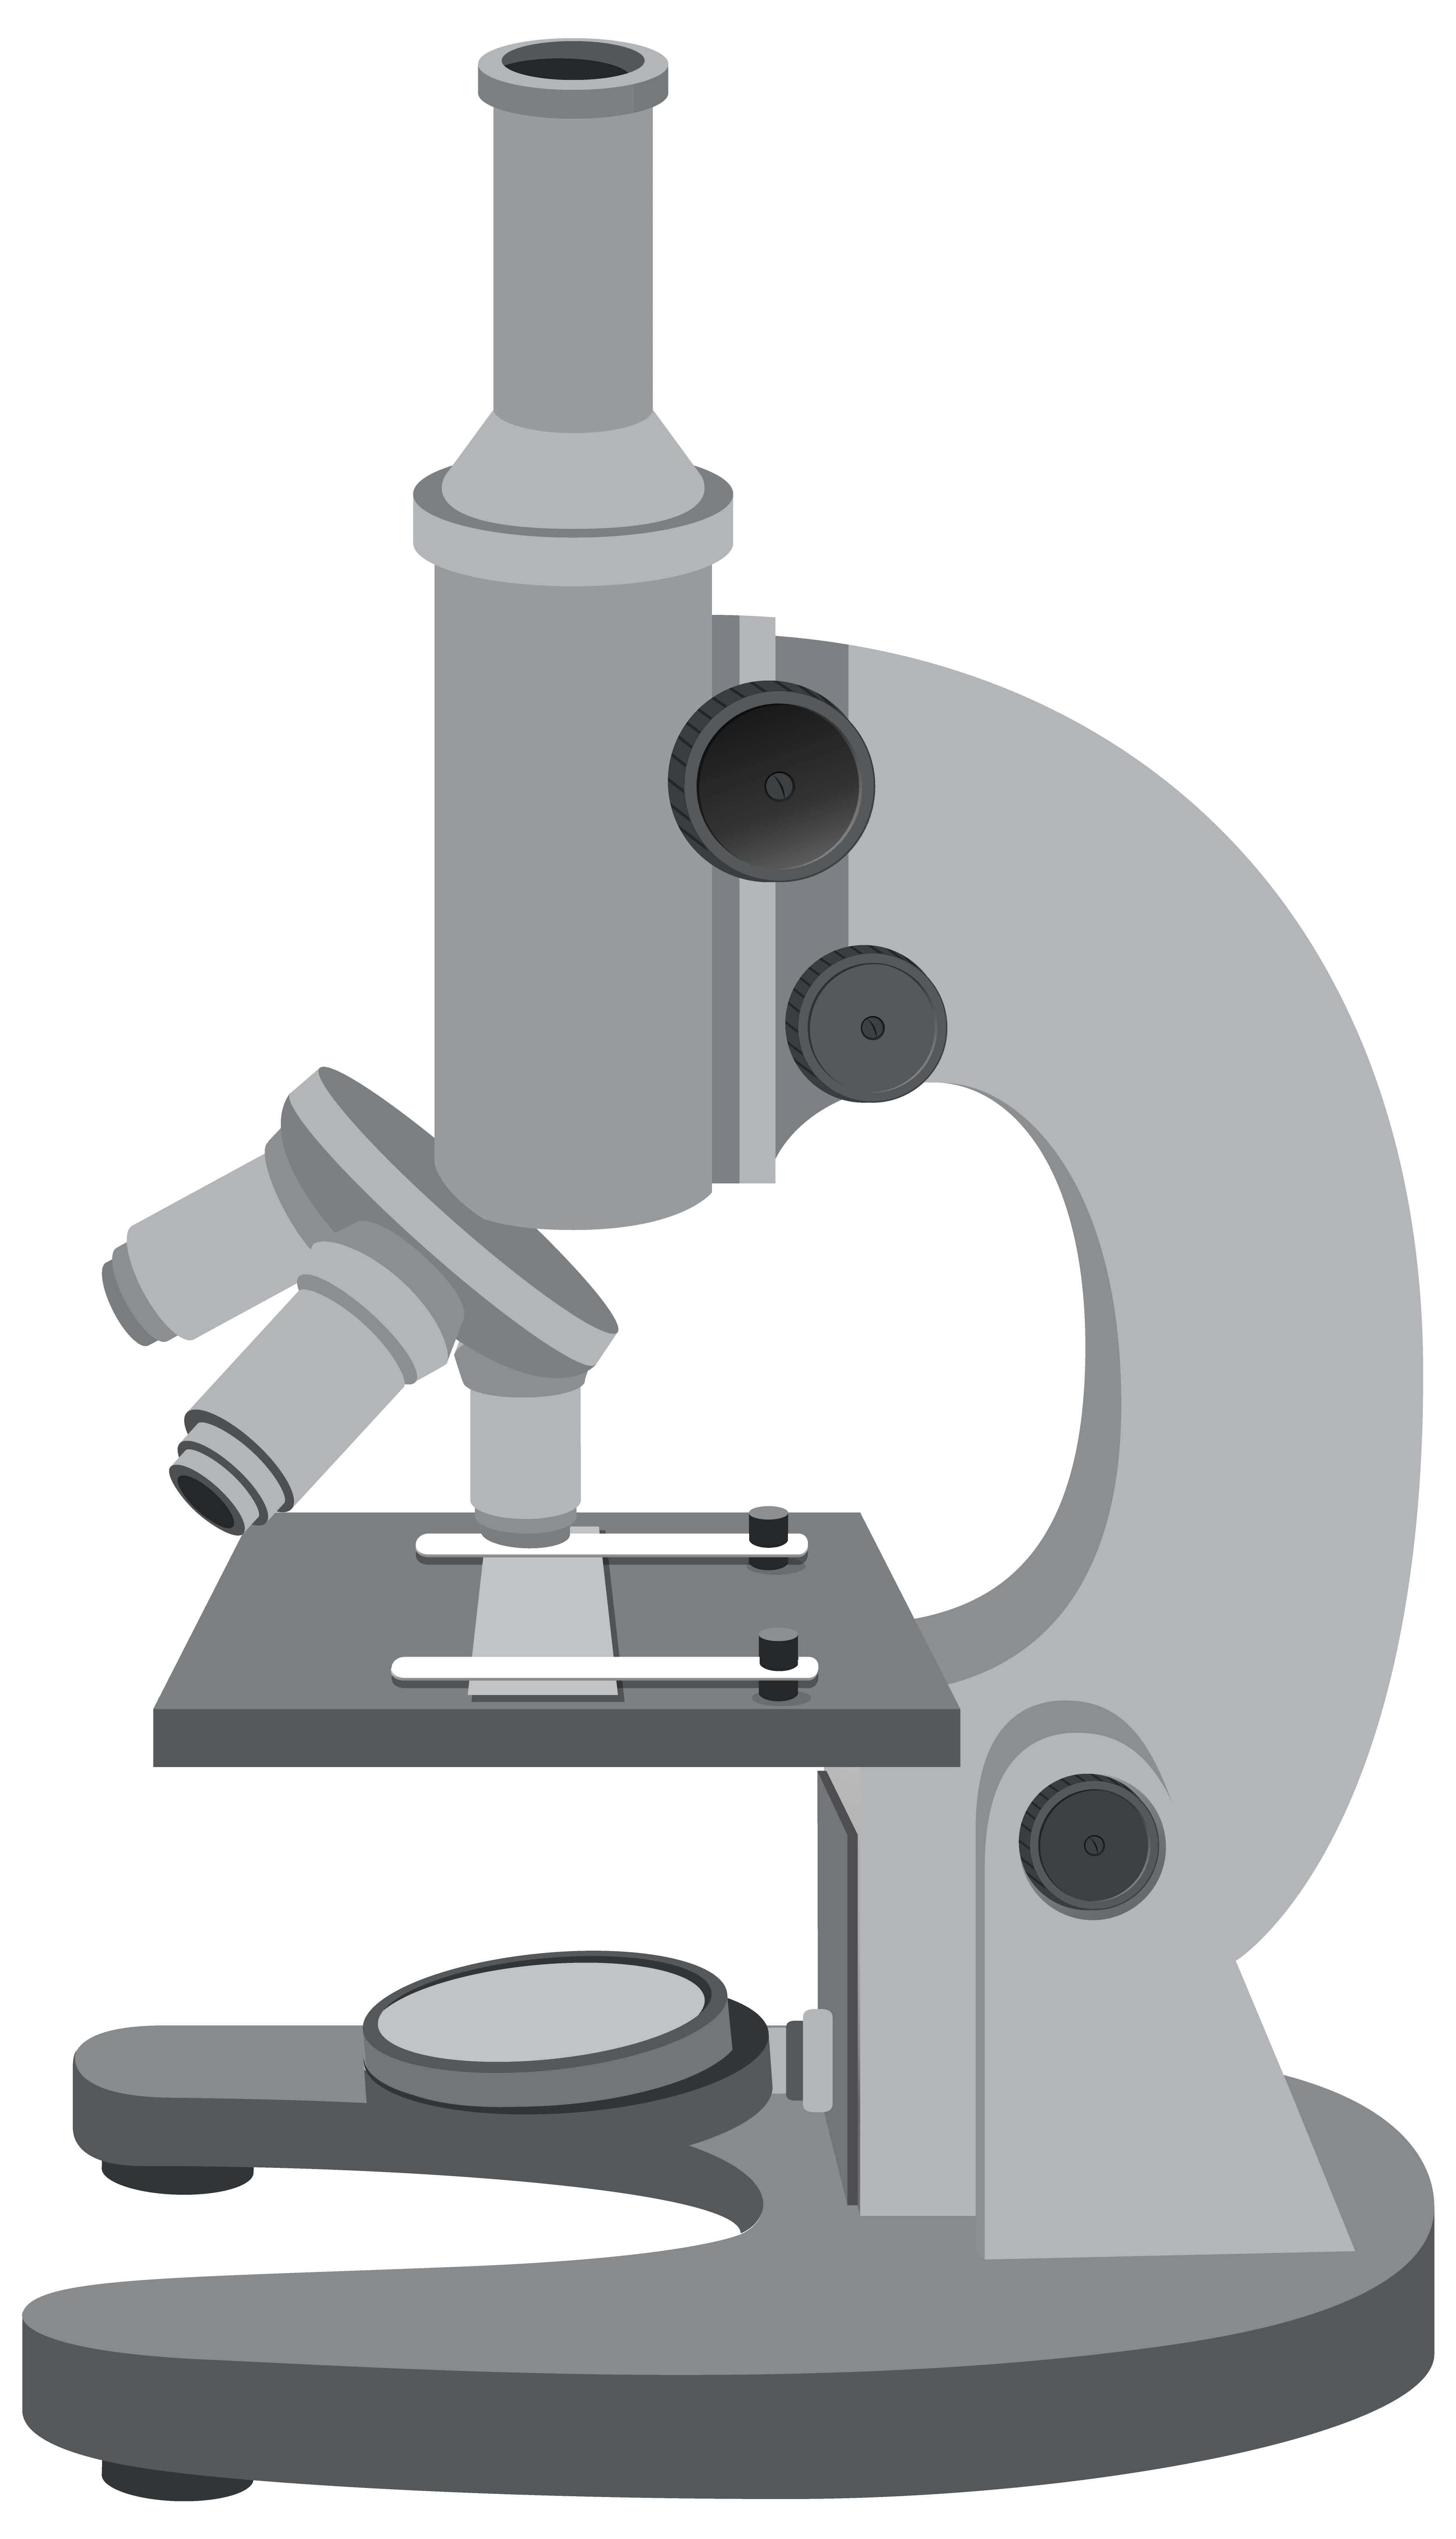
Parts of Your Microscope and What They Do
Let's get familiar with the different parts of our microscope. Each part has a specific job to help us see the tiny world clearly.
The Body Tube: This is the long, hollow tube that connects the eyepiece to the objective lenses. It makes sure the light passes through the lenses correctly.
Eyepiece (Ocular Lens): This is the part you look through at the top of the microscope. It usually magnifies the image 10 times (10x).
Revolving Nosepiece: This is a rotating part located below the body tube. It holds the objective lenses and allows you to switch between them easily.
Objective Lenses: These are the lenses located on the revolving nosepiece. Microscopes typically have several objective lenses with different magnifying powers:
Scanning Lens (Shortest): Usually 4x magnification. It gives you the widest field of view and is used to locate your specimen.
Low Power Lens (Medium): Usually 10x magnification. Used for a closer look after you've found your specimen with the scanning lens.
High Power Lens (Longest): Usually 40x magnification. Used for a more detailed view of the specimen.
Oil Immersion Lens (Very Long, often with a '100' marking): This lens is used with a special oil to get the highest magnification (usually 100x). We won't be using this one in this introductory lesson, but it's good to know it exists!
Stage: This is the flat platform where you place your microscope slide. It has an opening in the center to allow light to pass through the specimen.
Stage Clips: These are the metal clips on the stage that hold your microscope slide in place.
Diaphragm (or Iris Diaphragm): Located under the stage, this part controls the amount of light that passes through the specimen. Adjusting it can make your image clearer.
Light Source (Illuminator or Mirror): This is usually a built-in light bulb at the base of the microscope, or sometimes a mirror that reflects light from an external source. It provides the light needed to see the specimen.
Coarse Adjustment Knob: This is the larger knob, usually on the side of the microscope. It moves the stage (or body tube) up and down significantly for initial focusing. IMPORTANT: Only use this with the scanning or low power objective lenses.
Fine Adjustment Knob: This is the smaller knob, also on the side. It moves the stage (or body tube) up and down very slightly for sharp, precise focusing, especially under high power.
Arm: This connects the body tube to the base. It's one of the places you should hold when carrying the microscope.
Base: This is the bottom support of the microscope. It's the other place you should hold when carrying the microscope.
Carrying Your Microscope Safely
Imagine you're carrying a precious, delicate treasure. That's how you should treat your microscope!
Two Hands are Key: Always use two hands to carry the microscope.
Grip the Arm: Place one hand firmly around the arm of the microscope.
Support the Base: Place your other hand underneath the base of the microscope.
Keep it Upright: Hold the microscope upright, so the eyepiece and lenses are not dangling or bumping against anything.
Walk Carefully: Walk slowly and carefully to your lab table, avoiding any bumps or sudden movements.
Setting Up Your Microscope
Once you've arrived at your lab station, it's time to set up your microscope for viewing.
Clear Your Space: Make sure your lab table is clean and clear of any clutter. You'll need space for the microscope, your slides, and any other materials.
Place it Gently: Gently place the microscope on the flat surface of the table, with the arm facing you.
Plug it In (if electric): If your microscope has a built-in light, plug the cord into an electrical outlet. Make sure the cord is not stretched tightly or creating a tripping hazard.
Rotate to Scanning Lens: Turn the revolving nosepiece so that the shortest objective lens (the scanning lens, usually 4x) clicks into place directly under the body tube. You should hear or feel a click when it's in the correct position.
Lower the Stage: Use the coarse adjustment knob to lower the stage as far as it will go, or raise the body tube as high as it will go. This gives you plenty of room to place your slide.
Using Your Microscope to Observe
Now for the exciting part – seeing the microscopic world!
Prepare Your Slide: Make sure your specimen is properly mounted on a clean glass slide with a coverslip.
Place the Slide: Carefully place the slide on the stage, positioning the specimen over the opening in the center.
Secure the Slide: Gently secure the slide using the stage clips.
Start with Scanning Power: Make sure the scanning lens (shortest one) is in place.
Look Through the Eyepiece: Look through the eyepiece.
Use the Coarse Adjustment: Slowly turn the coarse adjustment knob to raise the stage (or lower the body tube) until the image comes into view. You might need to adjust the diaphragm to get the right amount of light.
Center Your Specimen: Once you can see your specimen, use the stage clips or stage controls (if available) to move the slide and center the part you want to examine more closely in the middle of the field of view.
Switch to Low Power (if needed): If you want a closer look, carefully rotate the revolving nosepiece to the low power lens (medium length). The image should remain mostly in focus, but you might need to use the fine adjustment knob for a sharper image.
Switch to High Power (if needed): If you need an even closer look, center the specimen in the field of view under low power first. Then, carefully rotate the revolving nosepiece to the high power lens (longest one). IMPORTANT: NEVER use the coarse adjustment knob with the high power lens! You could crash the lens into the slide and damage both. Only use the fine adjustment knob to bring the image into sharp focus.
Adjust Light: You may need to adjust the diaphragm again under higher magnification to get the best contrast and brightness.
Putting Away Your Microscope
Proper storage is just as important as proper use!
Remove the Slide: Carefully remove the microscope slide from the stage. Clean it if necessary.
Rotate to Scanning Power: Rotate the revolving nosepiece back to the scanning lens (shortest objective lens).
Lower the Stage: Use the coarse adjustment knob to lower the stage completely or raise the body tube completely. This protects the lenses from dust and damage.
Clean Up: Wipe off any dust or oil from the stage and objective lenses with lens paper only. Never use paper towels or tissues, as they can scratch the lenses.
Unplug: Unplug the microscope cord and wrap it neatly around the base or designated cord holder.
Cover It: Place the dust cover over the microscope.
Carry it Back: Carry the microscope back to its storage location using the two-hand method (arm and base) as described earlier.
Why is Proper Handling So Important?
Accuracy: A clean, well-focused microscope gives you clear and accurate images of your specimen. Smudges on lenses or improper focusing can distort what you see.
Longevity: Microscopes are precision instruments. Dropping them, forcing parts, or not storing them properly can lead to expensive damage, making them unusable.
Safety: Keeping cords tidy and carrying the microscope carefully prevents accidents.
Real-World Example 1: The Doctor's Microscope
Imagine a doctor looking at a blood sample under a microscope to check for signs of infection. If the microscope is dirty or out of focus, the doctor might miss important details, leading to a wrong diagnosis. Proper handling ensures the doctor can see the tiny white blood cells clearly to determine if there's a problem.
Real-World Example 2: A Scientist Studying Bacteria
A scientist studying how bacteria cause disease needs a very clear view of these tiny organisms. If they accidentally scratch the objective lens by using the wrong cleaning material or forcing the focus, their research could be compromised. They rely on their microscope working perfectly every time.
Guided Practice: Microscope Parts Scavenger Hunt
Let's test your knowledge! I will describe a part of the microscope, and you need to point to it on a diagram (or imagine your own microscope) and say its name and function.
"I am the part you look through to see the specimen." (Answer: Eyepiece/Ocular Lens - magnifies the image)
"I am the rotating part that holds the different objective lenses." (Answer: Revolving Nosepiece - allows switching between objective lenses)
"I am the platform where you place your slide." (Answer: Stage - holds the slide)
"I am the large knob used for initial focusing." (Answer: Coarse Adjustment Knob - moves stage/body tube significantly for rough focus)
"I am the small knob used for sharp focusing." (Answer: Fine Adjustment Knob - moves stage/body tube slightly for precise focus)
"I am the shortest lens, used to first find your specimen." (Answer: Scanning Objective Lens - lowest magnification, widest view)
"I am the part that controls the amount of light." (Answer: Diaphragm - regulates light intensity)
"I am the bottom support of the microscope." (Answer: Base - supports the microscope)
Interactive Activity: "Microscope Handling Challenge"
Imagine you have a microscope in front of you. Follow these instructions step-by-step:
Pick Up: Show me how you would pick up the microscope using two hands.
Place: Show me how you would place it on the table.
Scan: Pretend to rotate the nosepiece to the scanning lens.
Focus: Pretend to look through the eyepiece and turn the coarse adjustment knob to bring an imaginary slide into view.
High Power: Pretend to switch to the high power lens and use the fine adjustment knob to focus.
Put Away: Show me how you would put the microscope away, including rotating back to scanning power and lowering the stage.
4.c Independent Practice: Microscope Diagram Labeling
Here is a diagram of a compound microscope. Label each part correctly using the terms we learned. Then, write a brief function for each labeled part.
Example:
Eyepiece: Magnifies the image 10x.
Body Tube: Connects eyepiece to objective lenses. ...and so on for all parts.
Think about how microscopes are used every day!
Doctors: Use microscopes to examine blood, tissue samples, and bacteria to diagnose illnesses.
Scientists: Use microscopes to study everything from tiny insects to the structure of materials.
Food Inspectors: Use microscopes to check for cleanliness and contaminants in food.
Jewelers: Use special microscopes to examine gemstones and intricate details in jewelry.
In the Philippines, scientists might use microscopes to study local plants and animals, or even to monitor water quality in our rivers and oceans. Proper handling ensures these important tools are always ready when needed.
Today, we learned that the compound microscope is a powerful tool for exploring the unseen world. We discovered its many parts, like the eyepiece, objective lenses, stage, and adjustment knobs, and understood their specific roles. Most importantly, we practiced the correct techniques for carrying, setting up, using, and storing the microscope safely. Remembering to use two hands, starting with the scanning lens, using the correct adjustment knobs, and putting it away carefully are crucial steps to becoming a skilled and responsible microscope user.
Now that you know how to handle a microscope with care, you can:
Practice: If you have access to a microscope, practice the steps we learned today. Try picking it up, setting it up, and putting it away.
Observe: When you get a chance to use a microscope in class, remember these steps to ensure you have a clear view and protect the equipment.
Teach: Share what you've learned about microscope handling with a friend or family member.
Be Responsible: Always treat scientific equipment with respect. This shows you value learning and are a good scientist!
No Comments Yet